Quick start guide
This is a very short guide on how to implement your first redirects. For more detailed instructions or specific use cases, please check out our other guides.

Ekke Uustalu
Last Update un anno fa
Signing up to Domain Forward
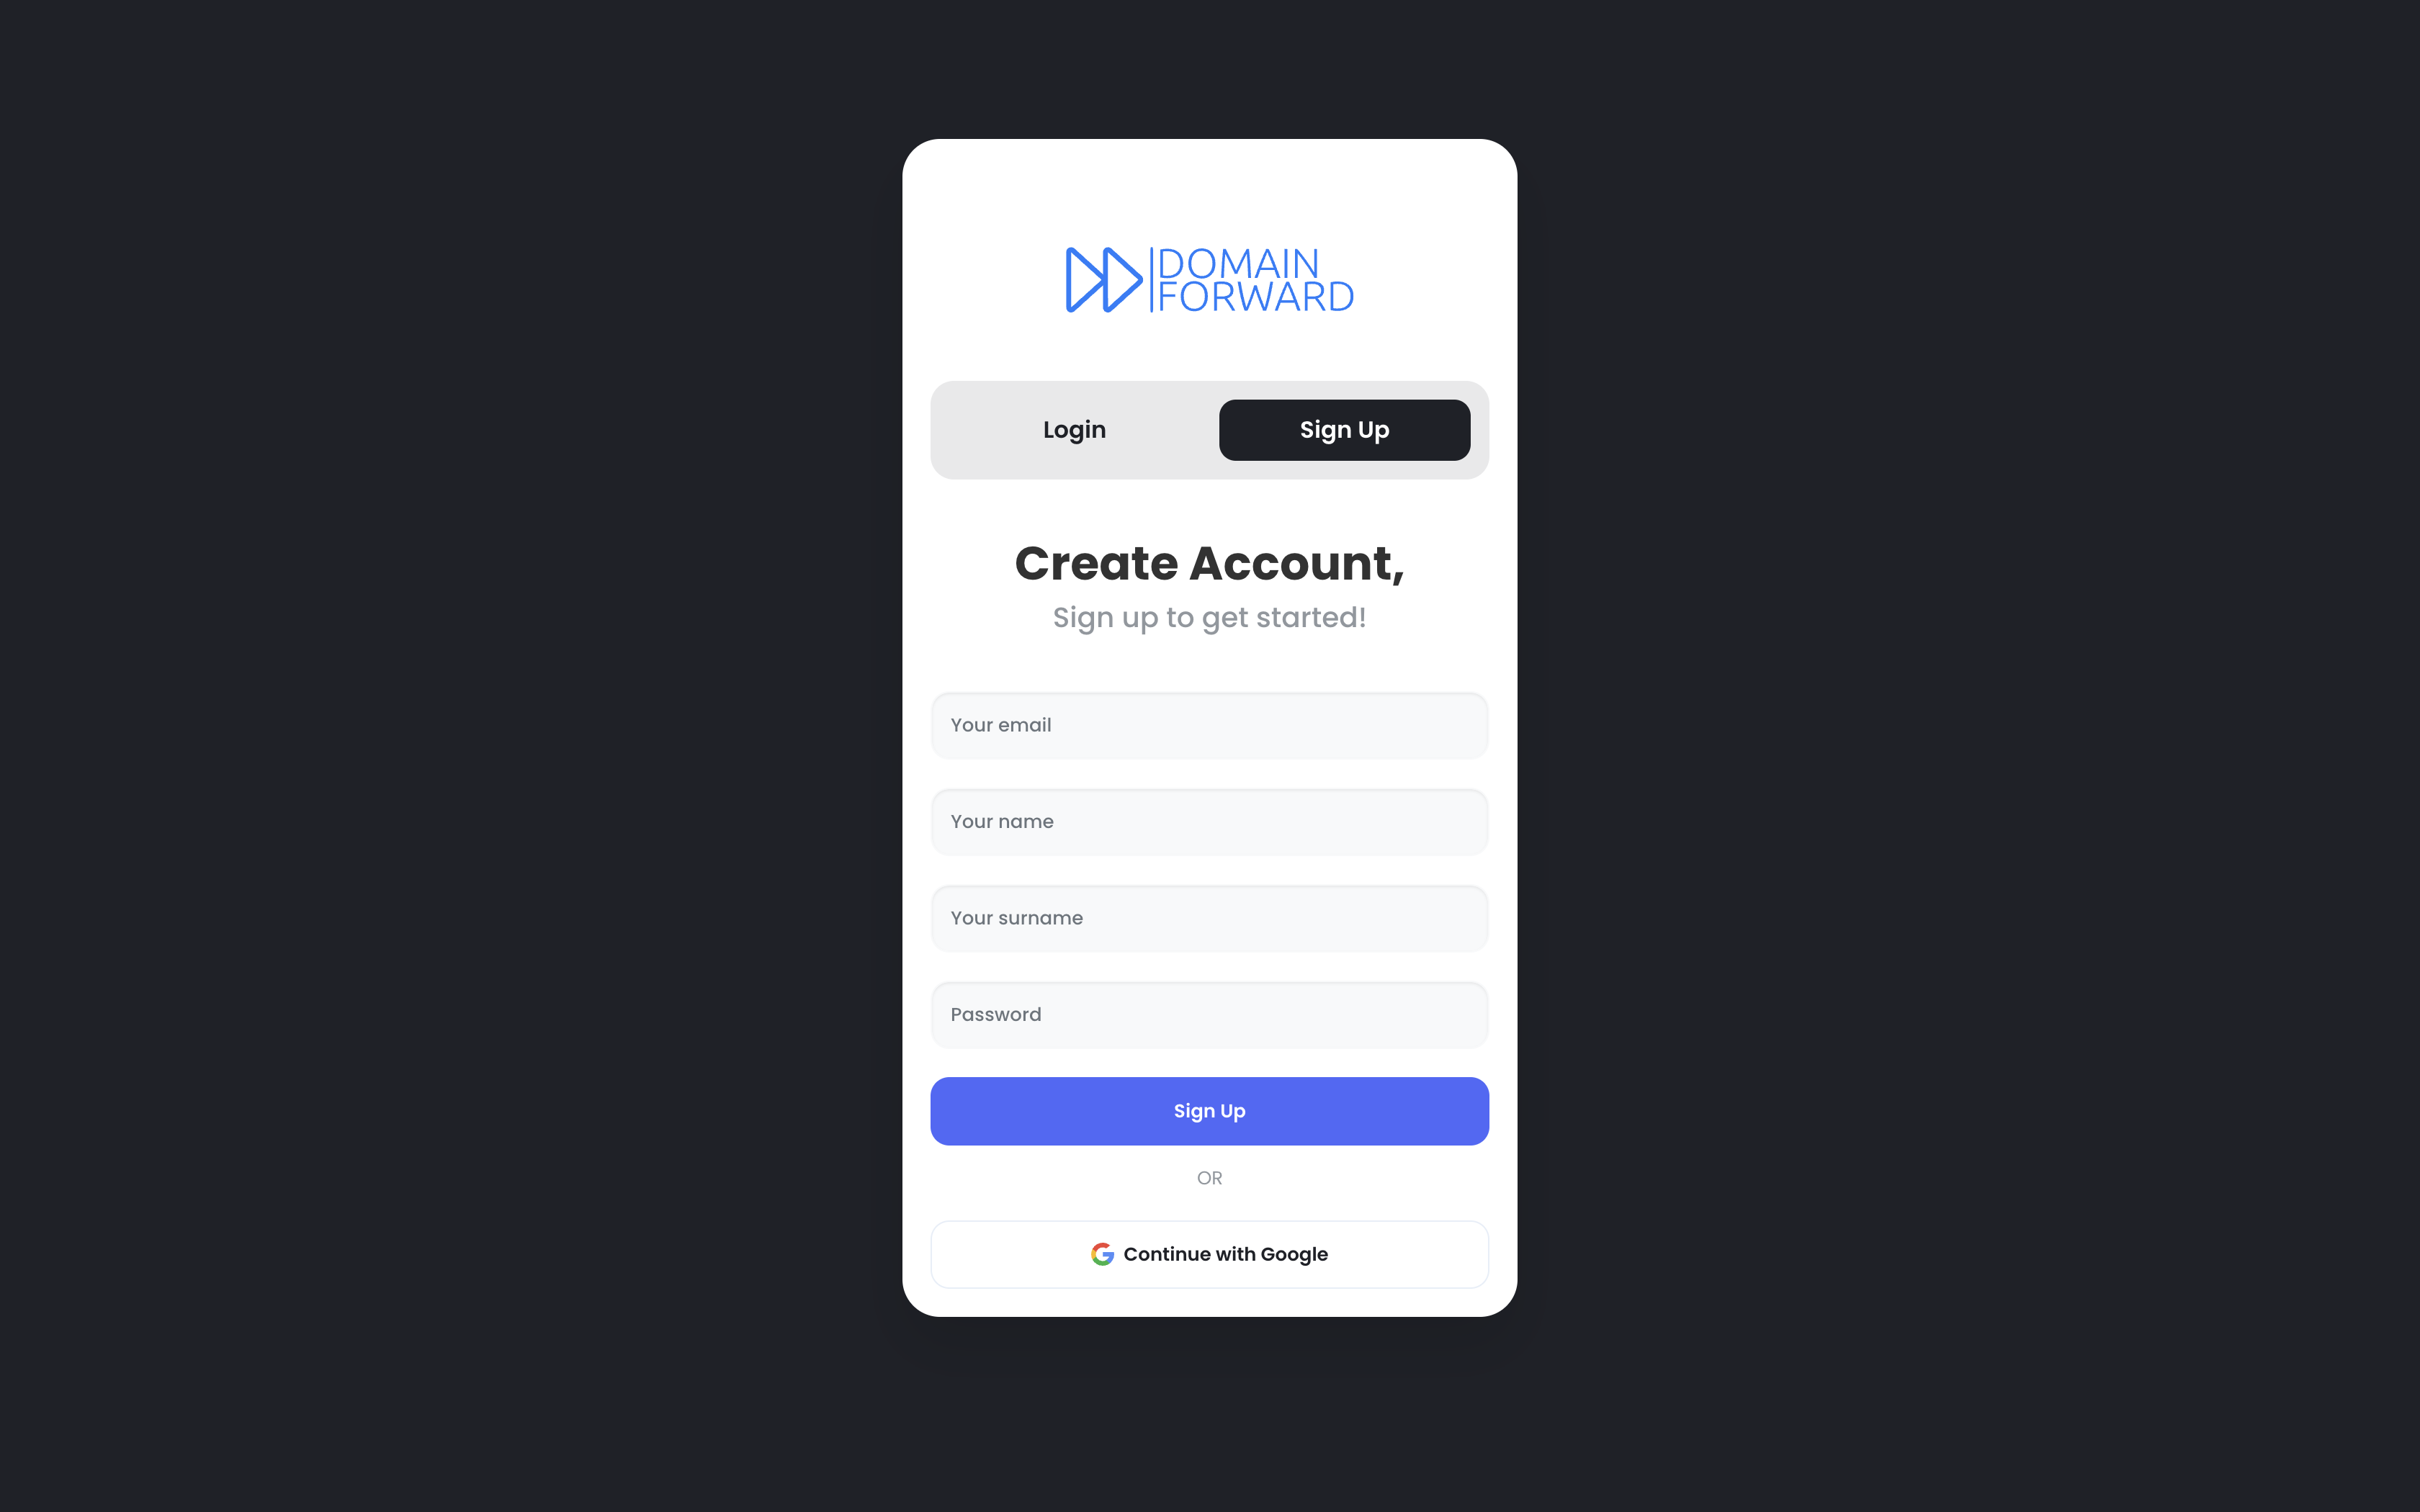
To sign up for Domain Forward, you can use various methods. You can either use social sign-in so that there are no passwords to remember.
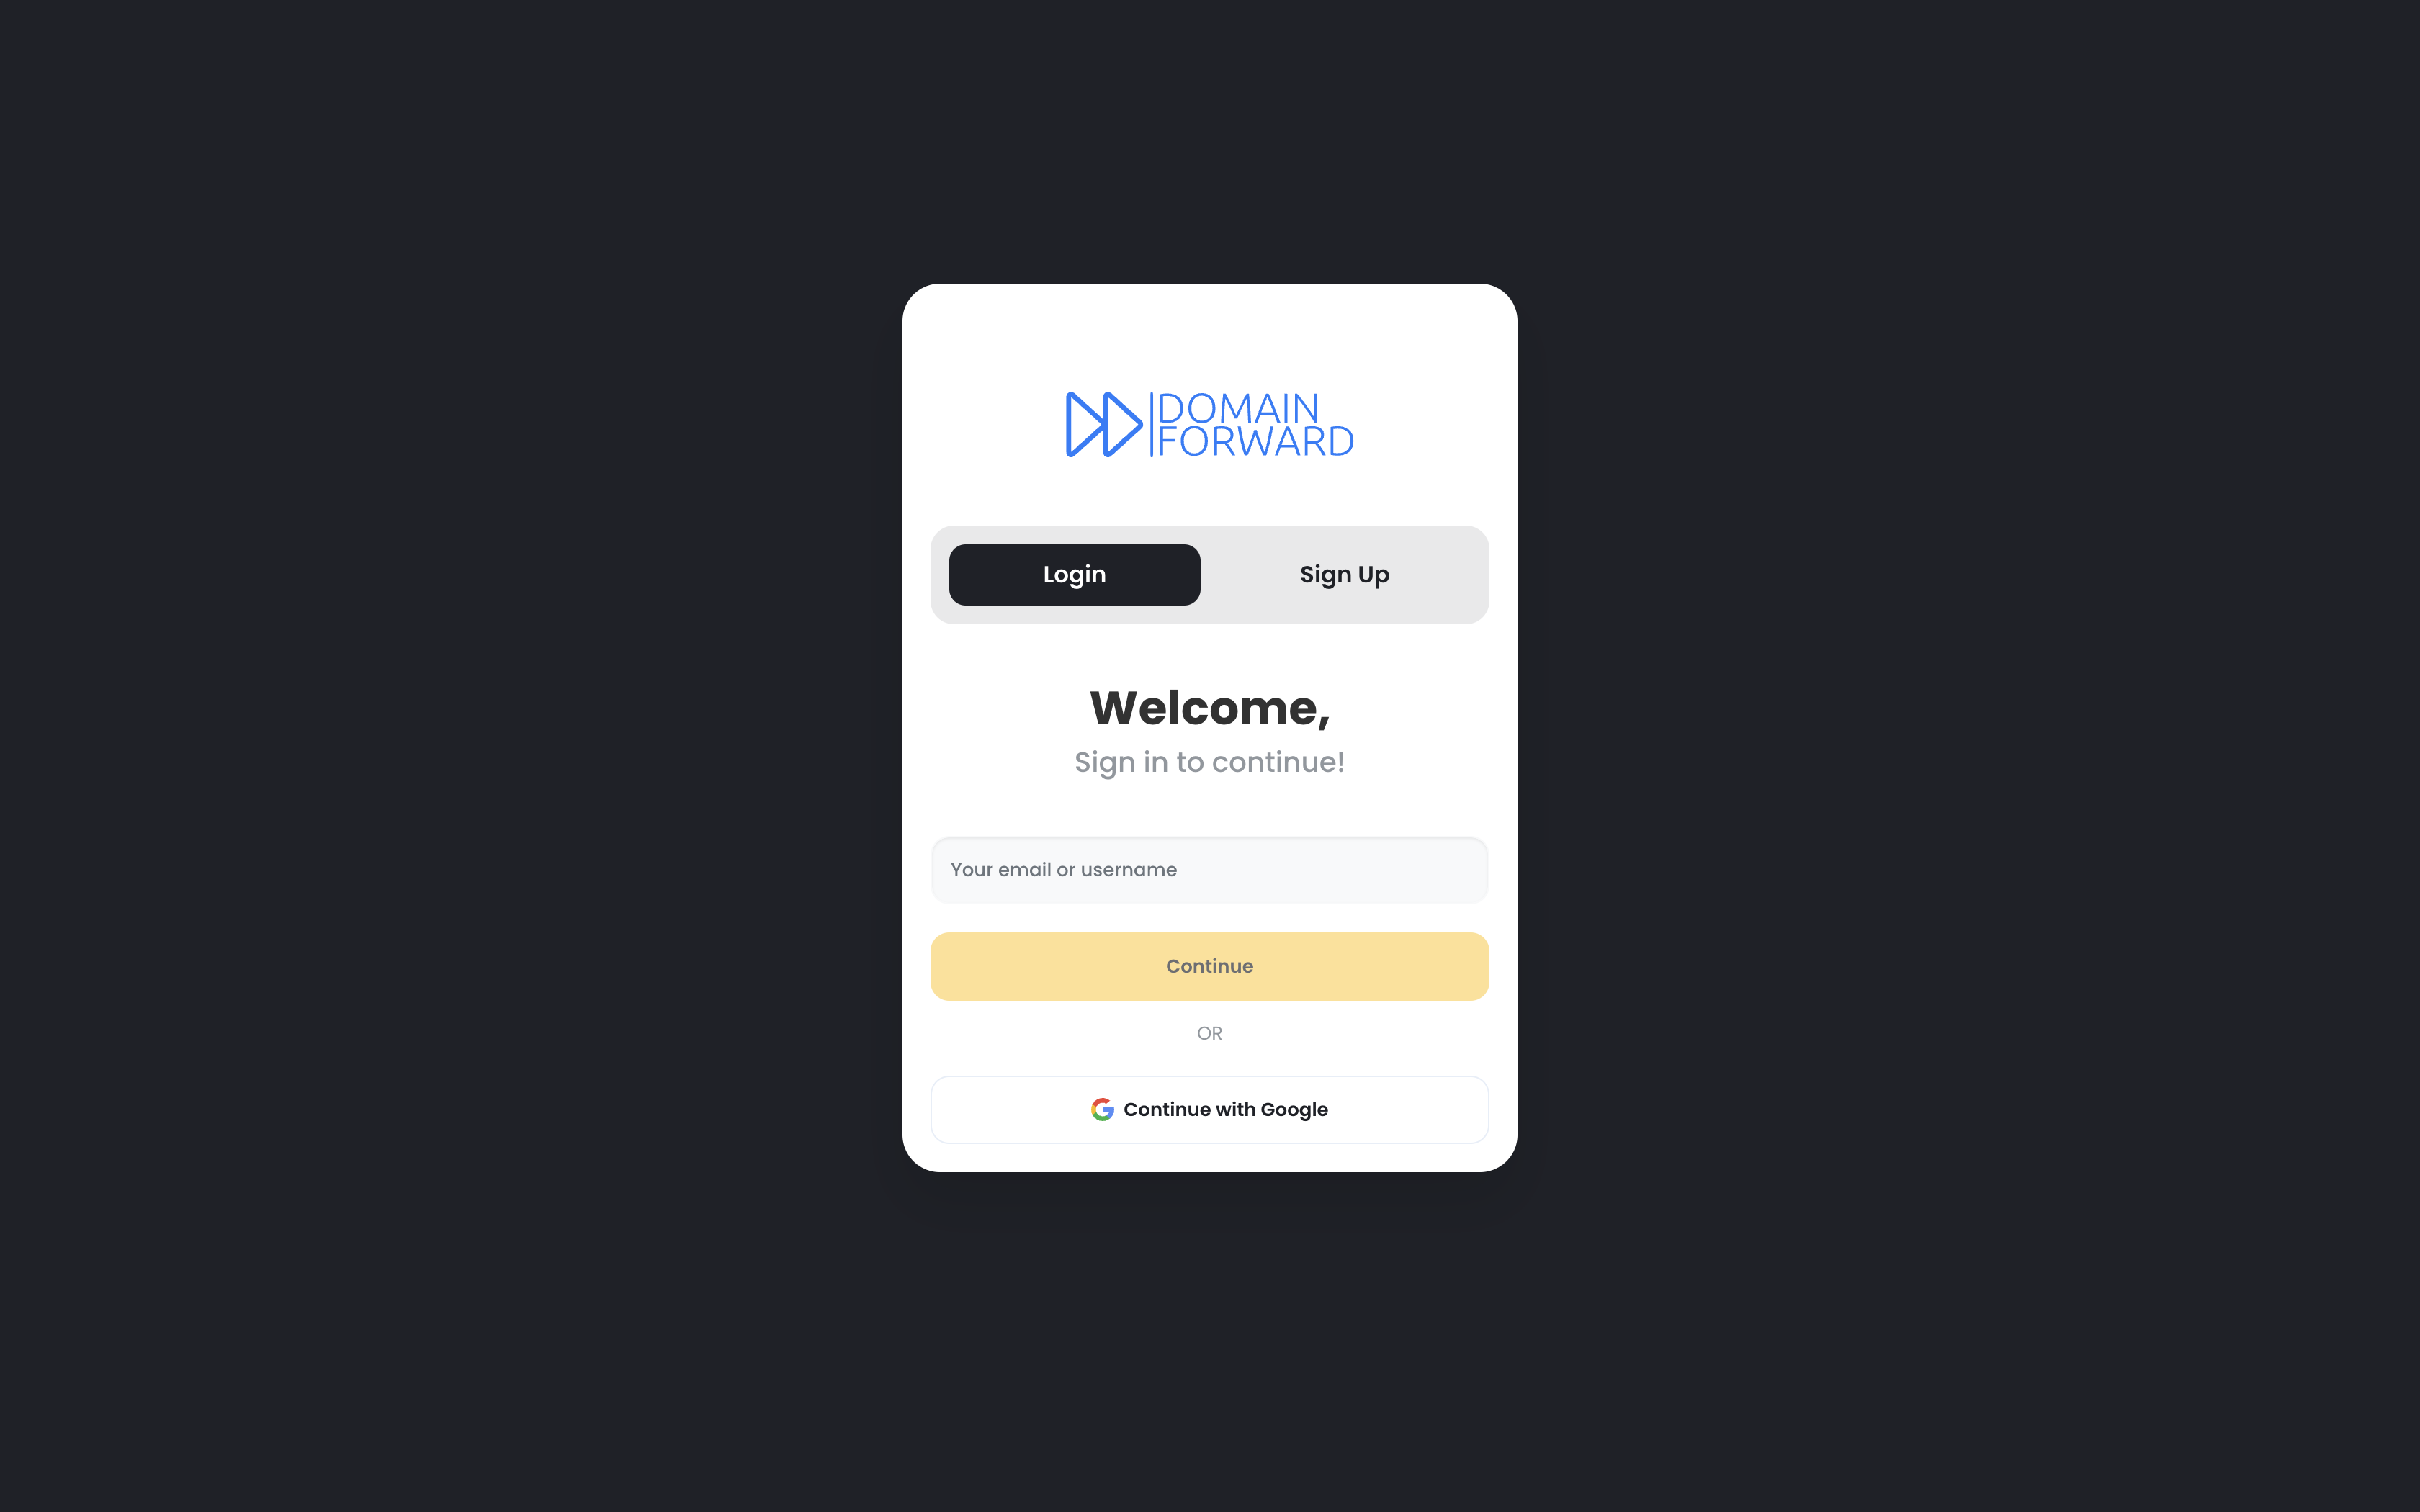
Or you can also just use your email and password to sign up if you prefer or if your email provider is not supported.
Creating your first redirect
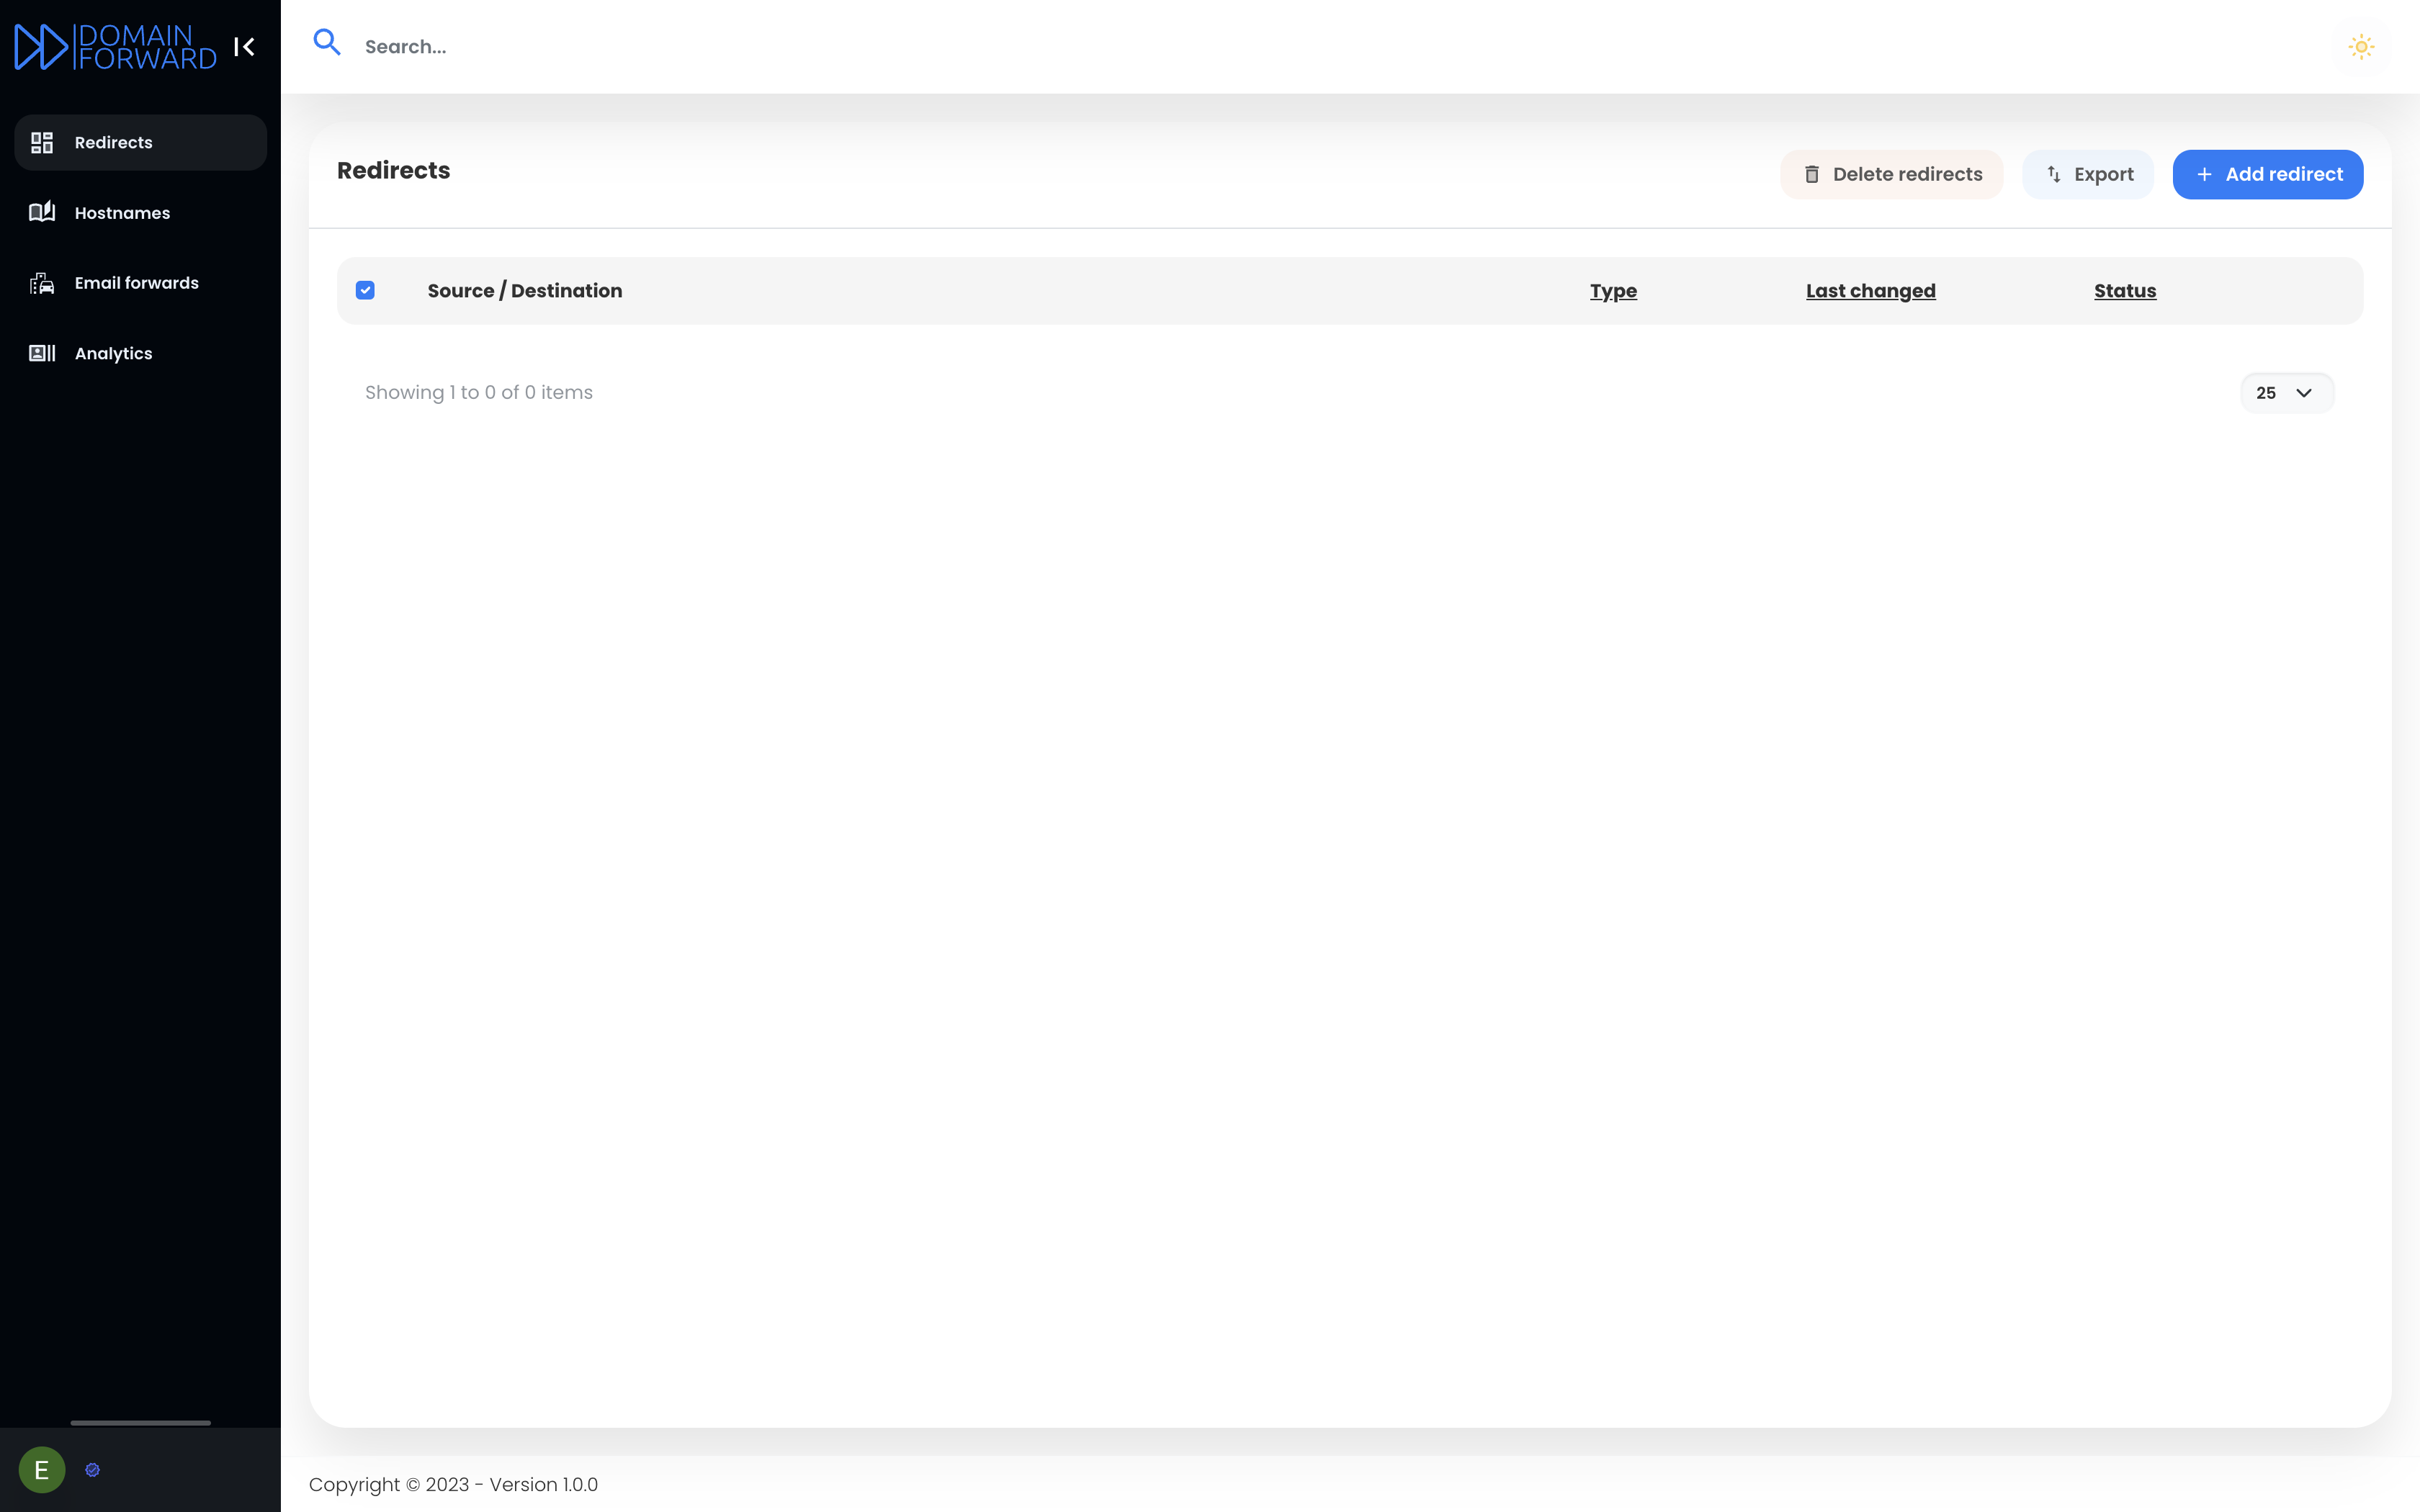
When you have created your account and successfully logged in, you will be presented with the redirects page. Click on the "Add redirect" button in the top right corner to add your first redirect.
The create redirect view is easier (at least we think so) to use and add redirects with than most technical solutions out there. Just provide your source URL (old-domain.com) and your destination URL (https://new-domain.com). You can keep the settings as they are. The default settings mean that the path (/contact) and query parameters (?full-screen=true) will be forwarded to the destination URL.

After you create the redirect, you will see the redirect details page where under the "Hostnames" section in the "Required" column you see what DNS entries are expected for the source domains.
When you click on "More info", you will be presented with a guide on how to configure the DNS settings at your DNS provider. In the case that you already have some DNS record present for the source domain, the guide will also indicate which records you need to remove.

After you configure or change the entries, you may need to wait up to 24h for the changes to fully be detected. You can click on "Check DNS" to directly check what DNS entries Domain Forward is able to see.